When it was first released the Mavic Pro was clearly an amazing step up. Having owned one for over a year now I can attest to just how amazing they are. Stunningly compact, powerful and robust it gets some amazing shots with ease.
So it’s no surprise DJI has gone back to the drawing board and even doubled down on building a successor. In keeping with their very neat naming tradition the new Mavic 2 Pro and Mavic 2 Zoom look to once again dominate the consumer drone market space for a long time.
Table of Contents
What Makes The Mavic 2 Pro Special?
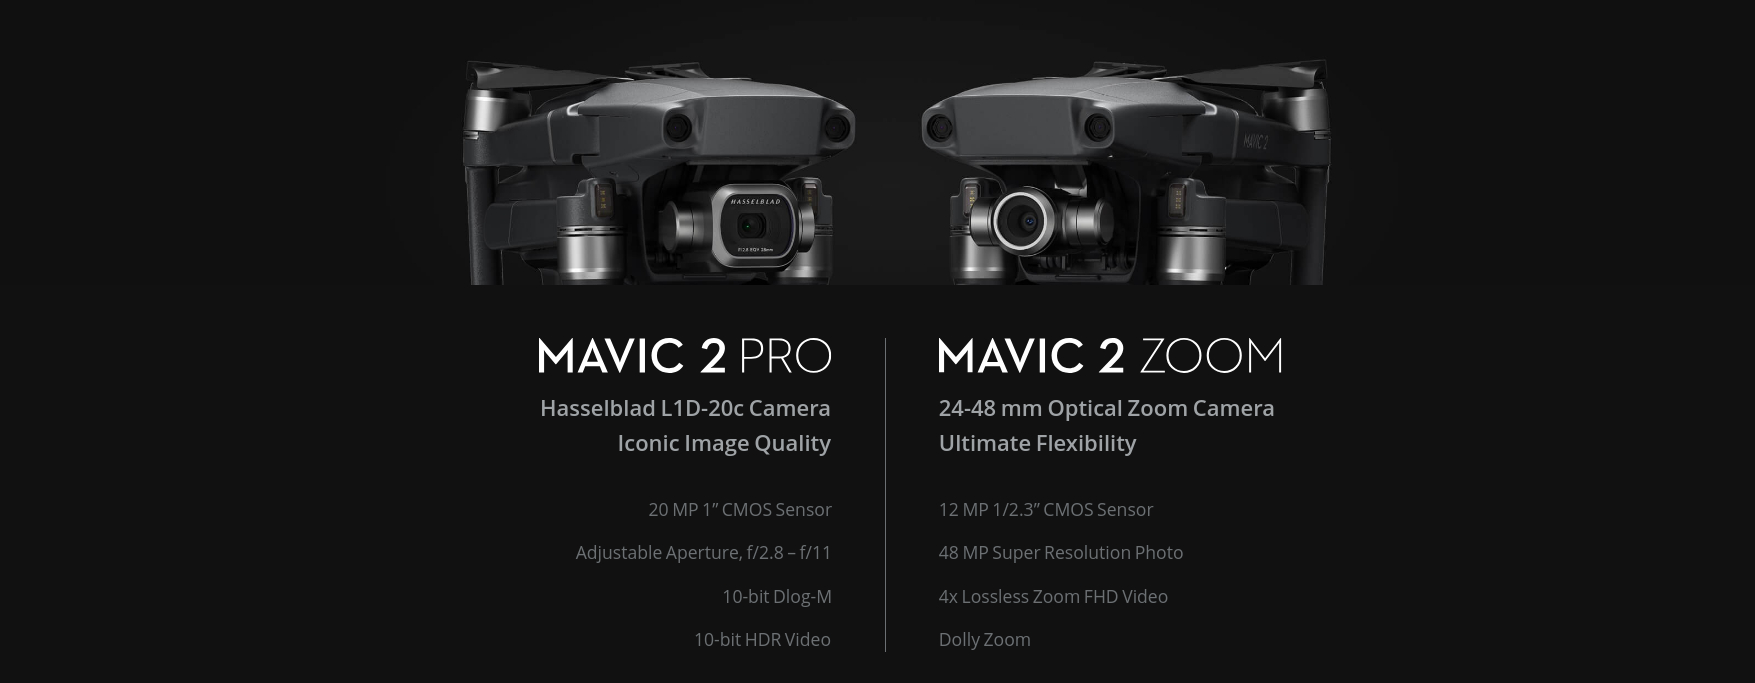
To begin with lets just make it clear that although there are two versions of the Mavic 2, we’ll only be focusing on the Mavic 2 Pro version for this guide. We’ll be doing a separate guide for the Zoom later on.
What truly differentiates the Mavic 2 Pro though is its hefty and super high quality camera. Using a Hasselblad system that we’ll get into more details about later it ups every spec when compared to the original Mavic Pro.
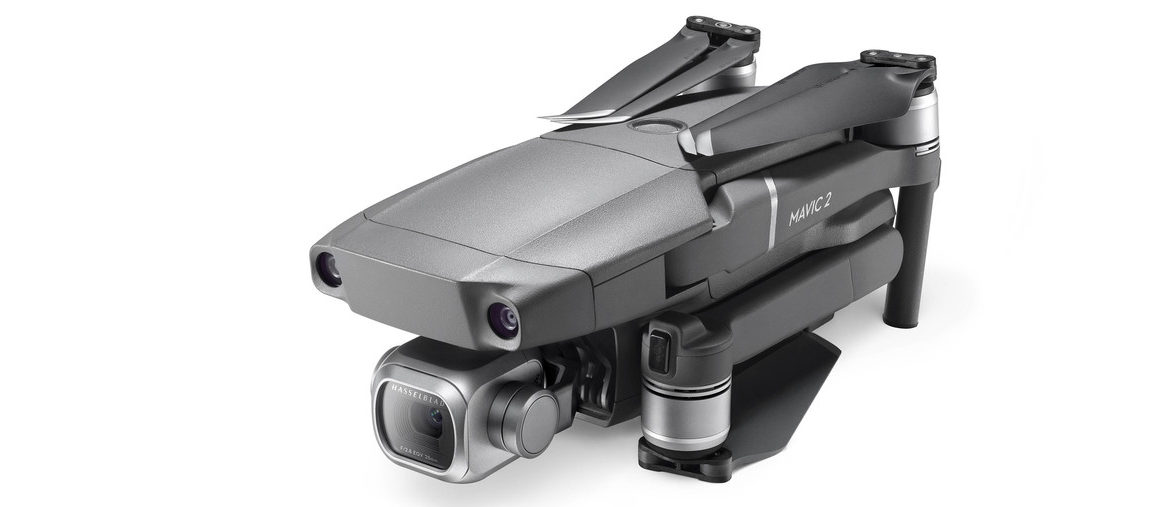
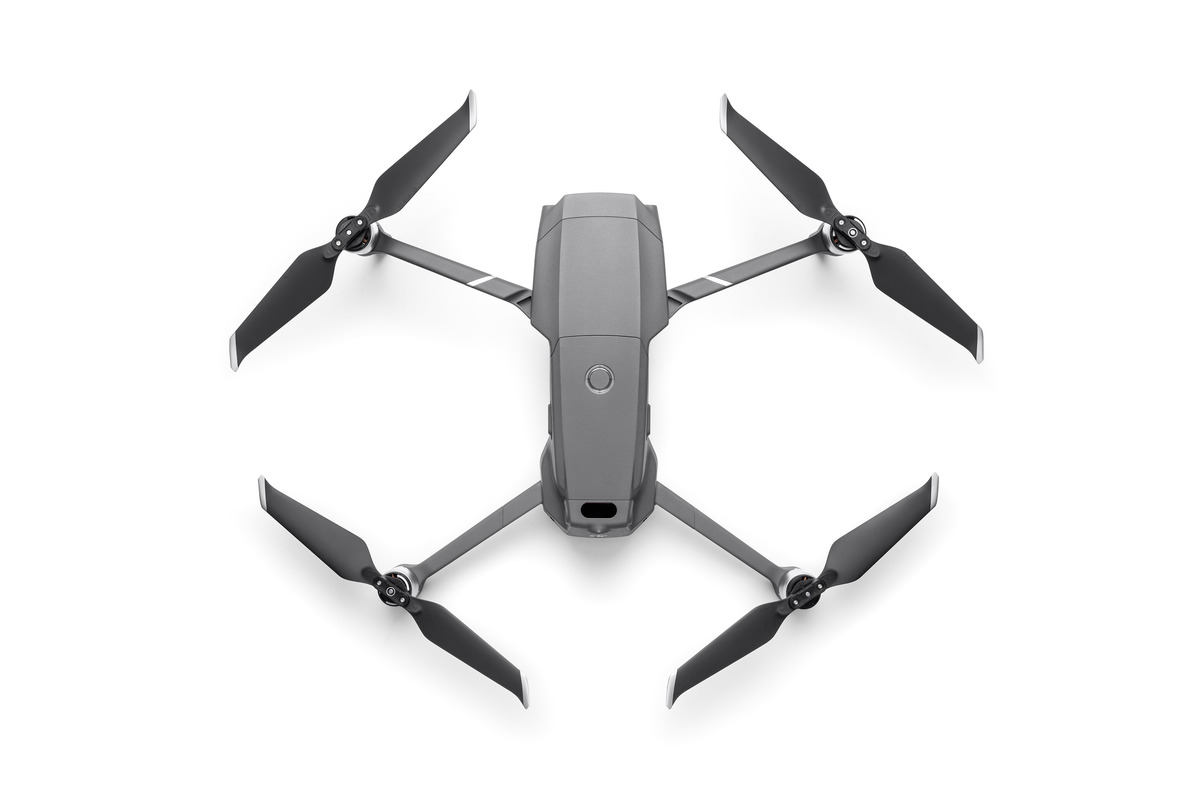
Along with this the Mavic 2 Pro easily stands out from other manufacturers drones by offering almost everything you could possibly want, all inside their signature folding design. Making it both small, light and incredibly powerful it has full 360 degree vision systems, a 3 axis gimbal that can even tilt the camera up slightly plus the full backing of DJI with their excellent DJI GO 4 app and accessories ecosystem.
While it’s very rare for products to literally have almost zero compromises I think this is what truly makes the Mavic 2 Pro so special as it has basically none. It is small, light and extremely portable yet still possesses all the top level specs of the bigger drones like the Phantom 4 Pro V2.0.
What Are The Mavic 2 Pro Specs?
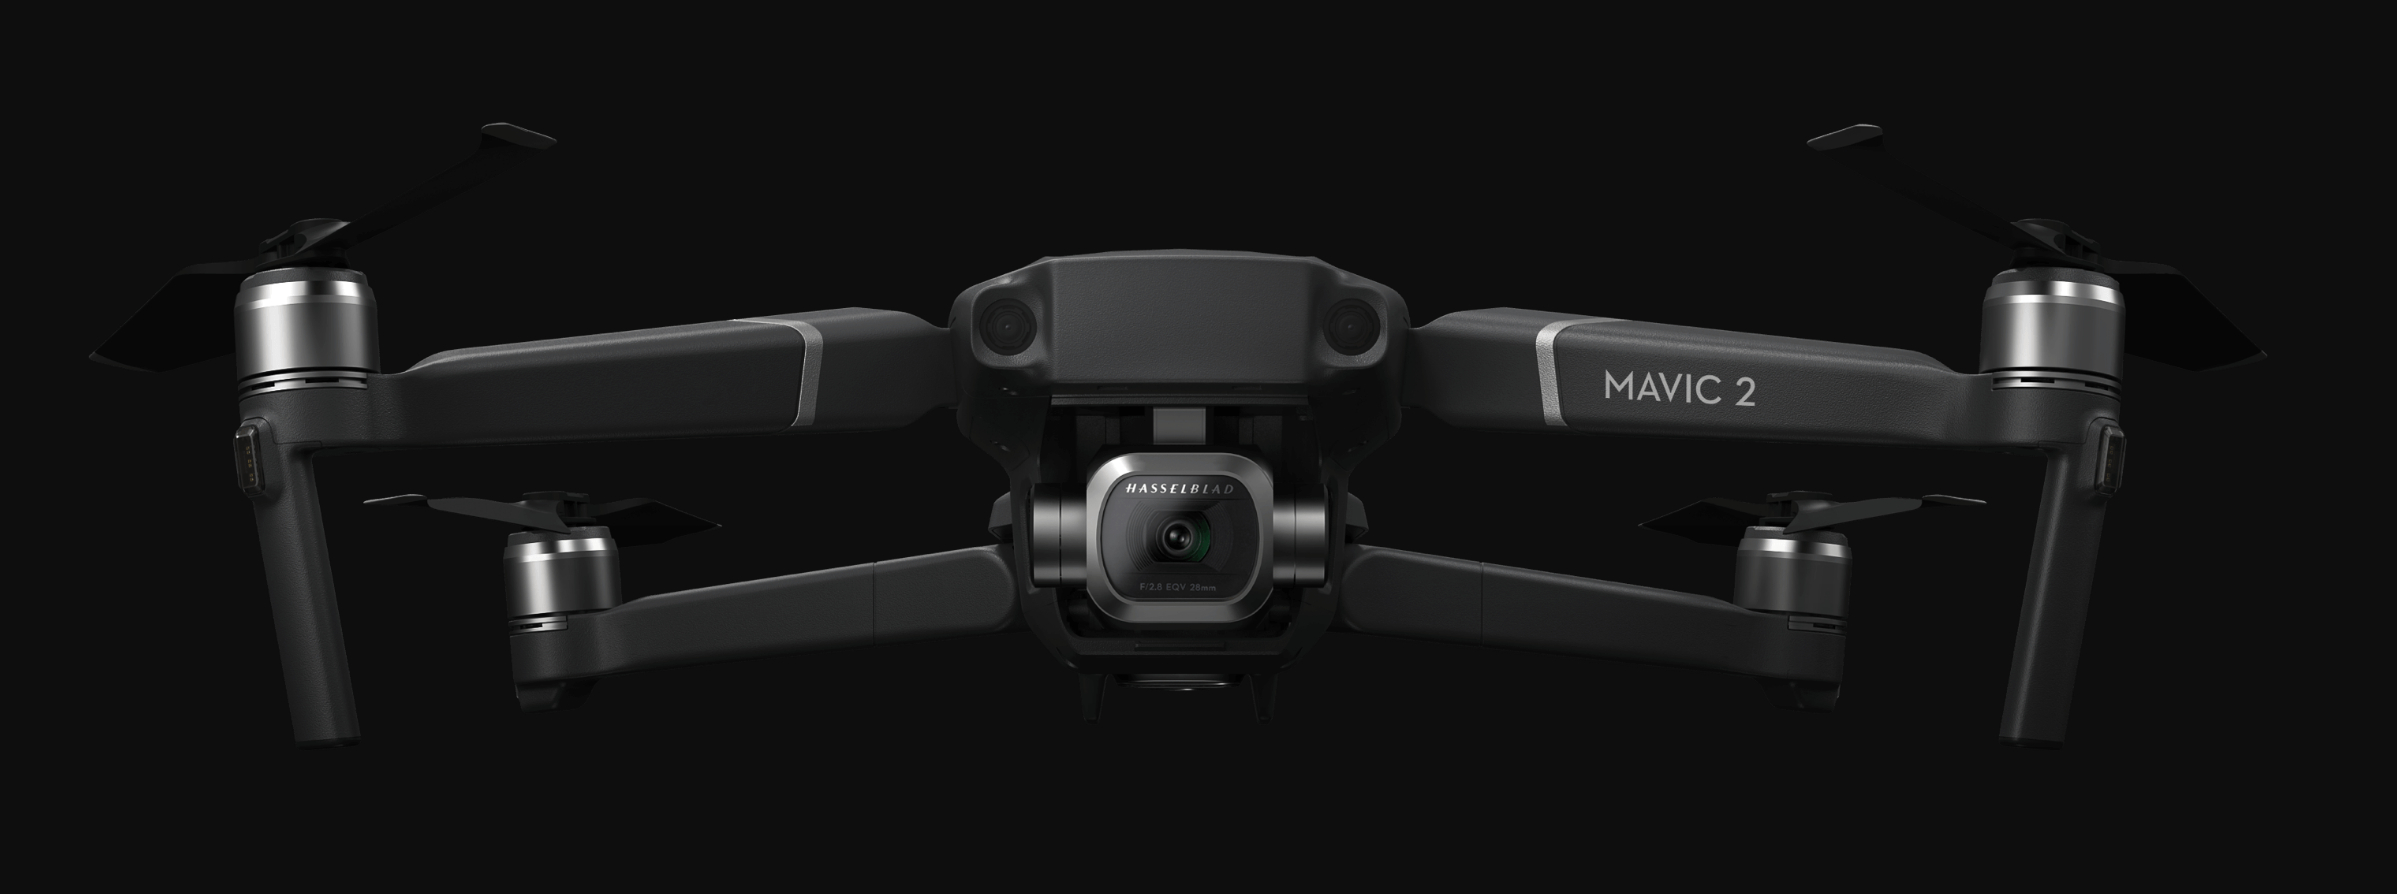
As stated the Mavic 2 Pro is absolutely jammed packed with features and hardware. With it’s estimated 31 minute flight time it lasts even longer than the previous reigning champion, the Phantom 4 Pro V2.0.
It also finally enacts full, 360 degree object avoidance with vision systems on all side which we’ll dig into more in a later section. The remote controller is also slightly upgraded with an 8 km video transmission range over the previous best of 7 km’s.
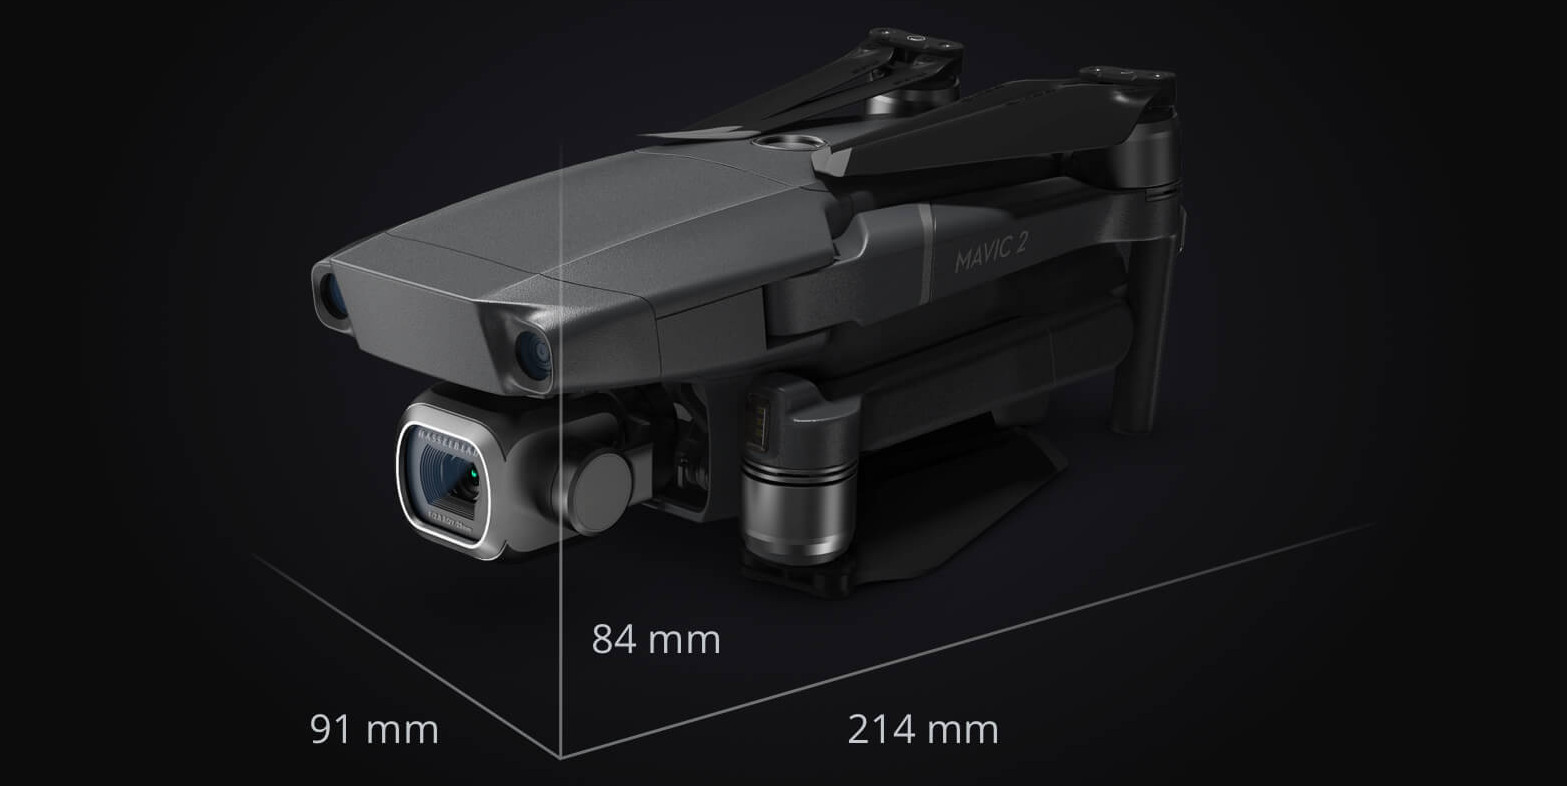
Rounding out the design is the new gimbal system that is more robust than the admittedly delicate Mavic Pro one. But that’s not even all the specs yet! For that we go to our handy drone specs table below:
| Mavic 2 Pro | Mavic Mini | Mavic Air 2 | |
|---|---|---|---|
 |  |  | |
| Released: | August 2018 | Oct 2019 | Apr 2020 |
| Price: | $1,499 USD $2,499 AUD | $399 USD $599 AUD | $799 USD $1,499 AUD |
| Weight: | 907 g / 1.99 lbs | 249 g / 0.55 lb | 570 g / 1.3 lb |
| Size Unfolded (L×W×H): | 322×242×84 mm | 245×290×55 mm | 183×253×77 mm |
| Size Folded (L×W×H): | 214×91×84 mm | 140×82×57 mm | 180×97×84 mm |
| Flight Time: | 31 minutes | 30 minutes | 34 Minutes |
| Remote Controller Range: | 8 km / 5 miles | 4 km / 2.5 miles | 10 km / 6.2 miles |
| Top Speed: | 72 kph / 45 mph | 13 m/s 47 kph / 29 mph | 68.4 kph / 42.75 mph |
| Obstacle Avoidance: | Front/Rear + Up/Down + Left/Right | Down | Front/Rear + Down |
| Camera Sensor: | 1'' CMOS 20 MP | 1/2.3'' CMOS 12 MP | 1/2.3' CMOS 12 MP & 48 MP |
| Camera Lens: | 28mm, f/2.8–f/11 | 35 mm, f/2.8 | 24 mm, f/2.8 |
| Max Recording Info: | 4K @ 30 FPS 10-bit 100 Mbps | 2.7K @ 30 FPS 8-bit 40 Mbps | 4K @ 60 FPS 8-bit 120 Mbps |
| Gimbal: | 3-Axis (tilt, roll, pan) | 3-Axis (tilt, roll, pan) | 3-Axis (tilt, roll, pan) |
| Internal Storage: | 8GB | None | 8GB |
| Intelligent Flight Modes: | Hyperlapse - Free - Circle - Course Lock - Waypoint QuickShot - Dronie - Circle - Helix - Rocket - Boomerang - Asteroid ActiveTrack 2.0 Point of Interest 2.0 Waypoints TapFly Cinematic Mode | QuickShot - Dronie - Circle - Helix - Rocket | 8K Hyperlapse - Free - Circle - Course Lock - Waypoint QuickShot - Dronie - Circle - Helix - Rocket - Boomerang - Asteroid Spotlight 2.0 ActiveTrack 3.0 Point of Interest 3.0 Waypoints TapFly Cinematic Mode |
| Last updated: 29th April, 2020. Please also note that while we try our best, there may be some errors or some points that are not 100% up to date. | |||
Beyond even those specs we have additional things like 10-bit Dlog-M and HDR video, a new HyperLight mode to improve night time shooting, support for H.265 codec, an even higher top speed thanks to its 19% less drag than the Mavic Pro and of course the upgrade from 60 Mbps to 100 Mbps image bit rate.
Simply flying the drone and not bothering surrounding people as much has also been improved with their quieter ESC’s and low-noise propellers that first made an appearance on the Mavic Pro Platinum.
Mavic 2 Pro Hasselblad Camera
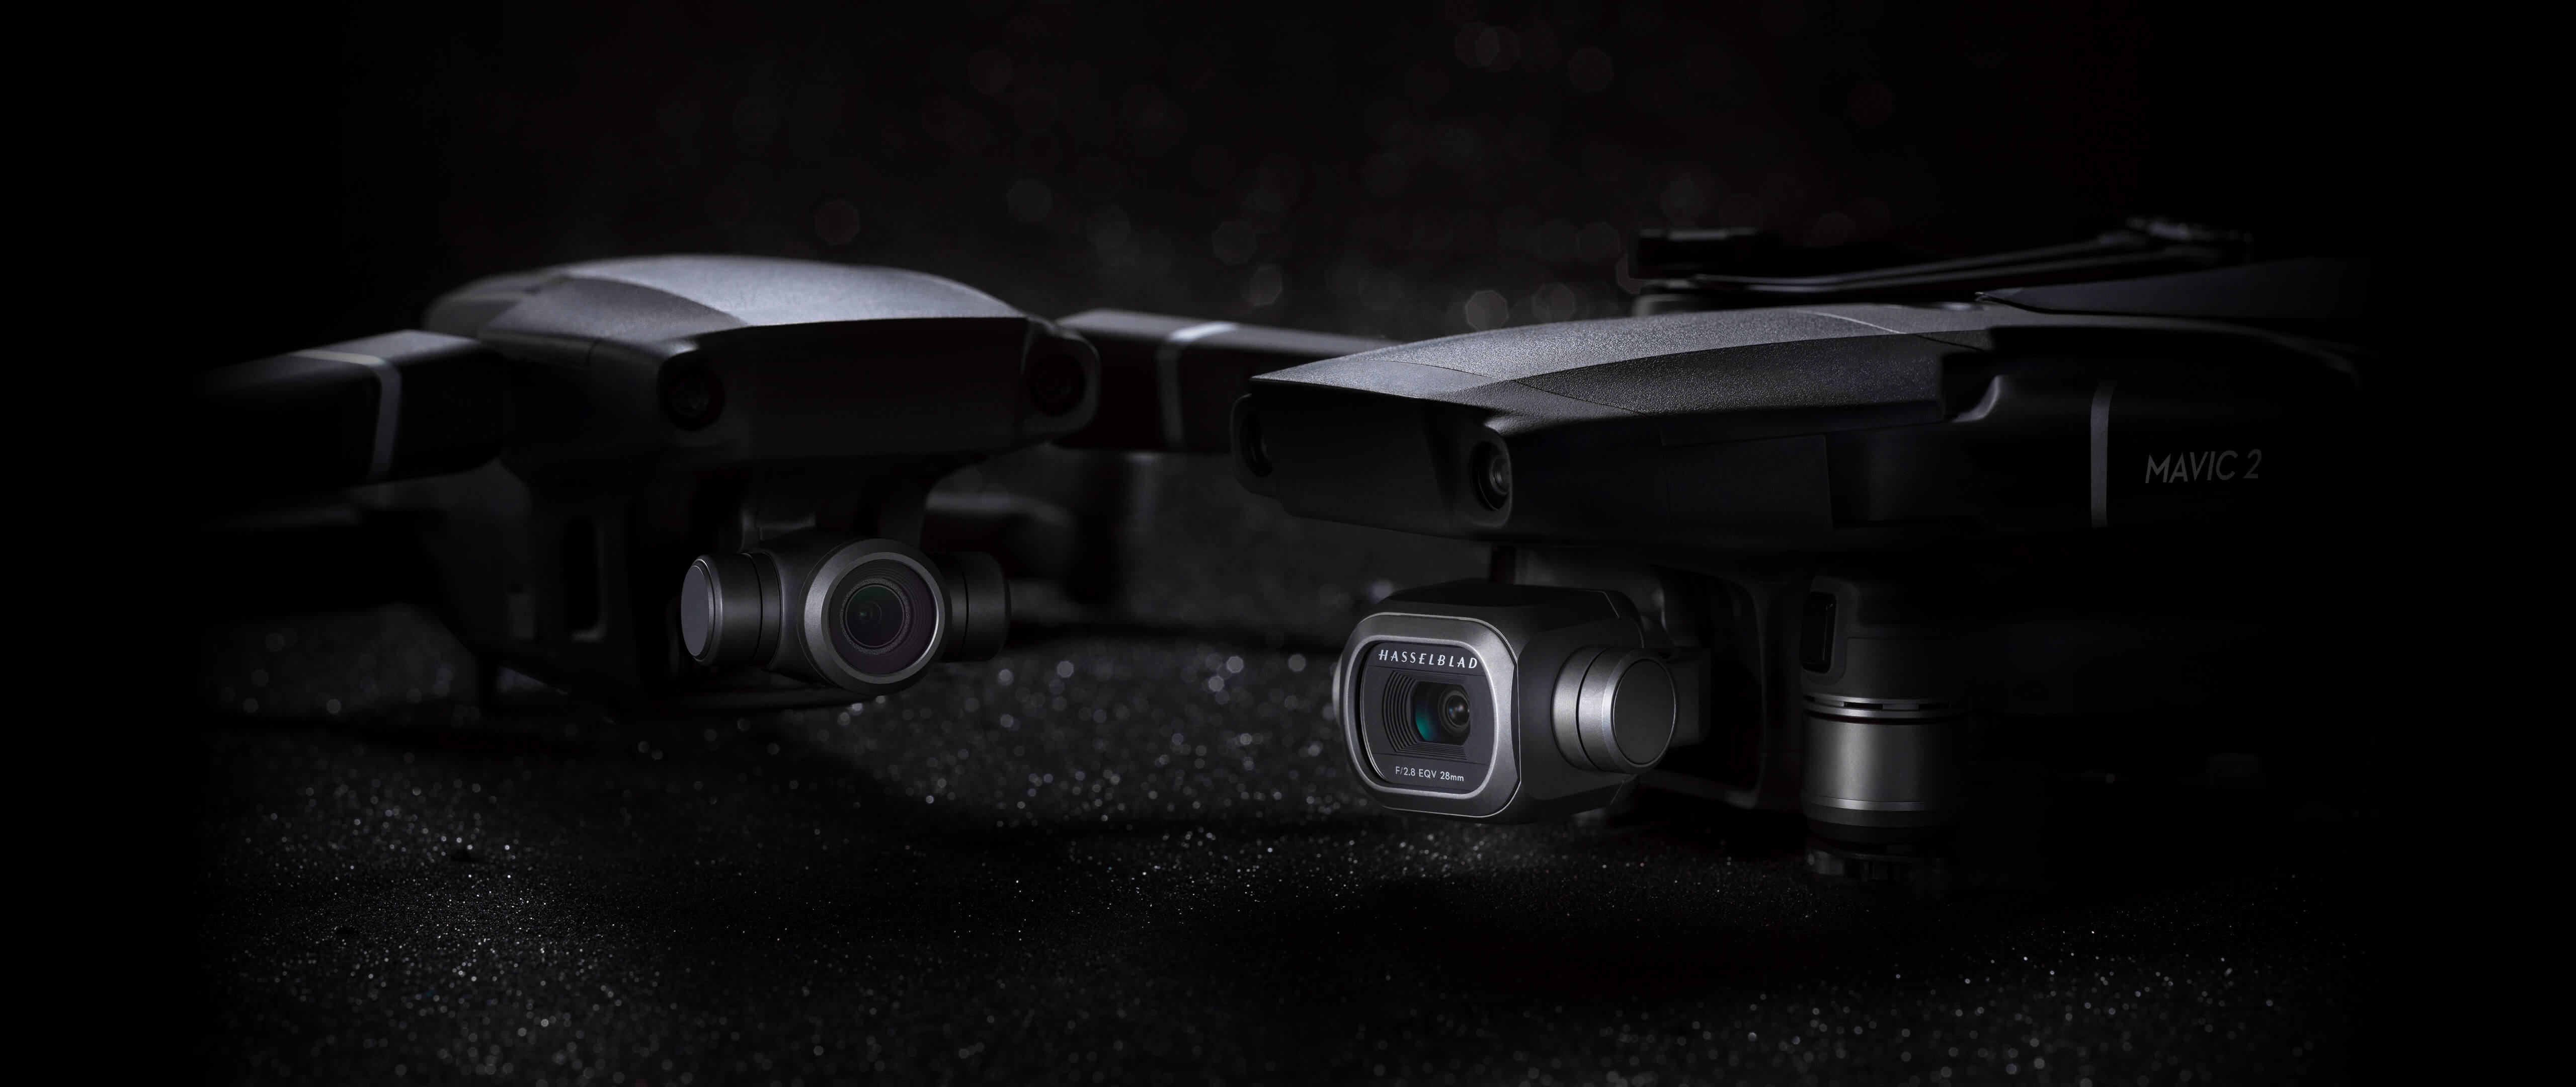
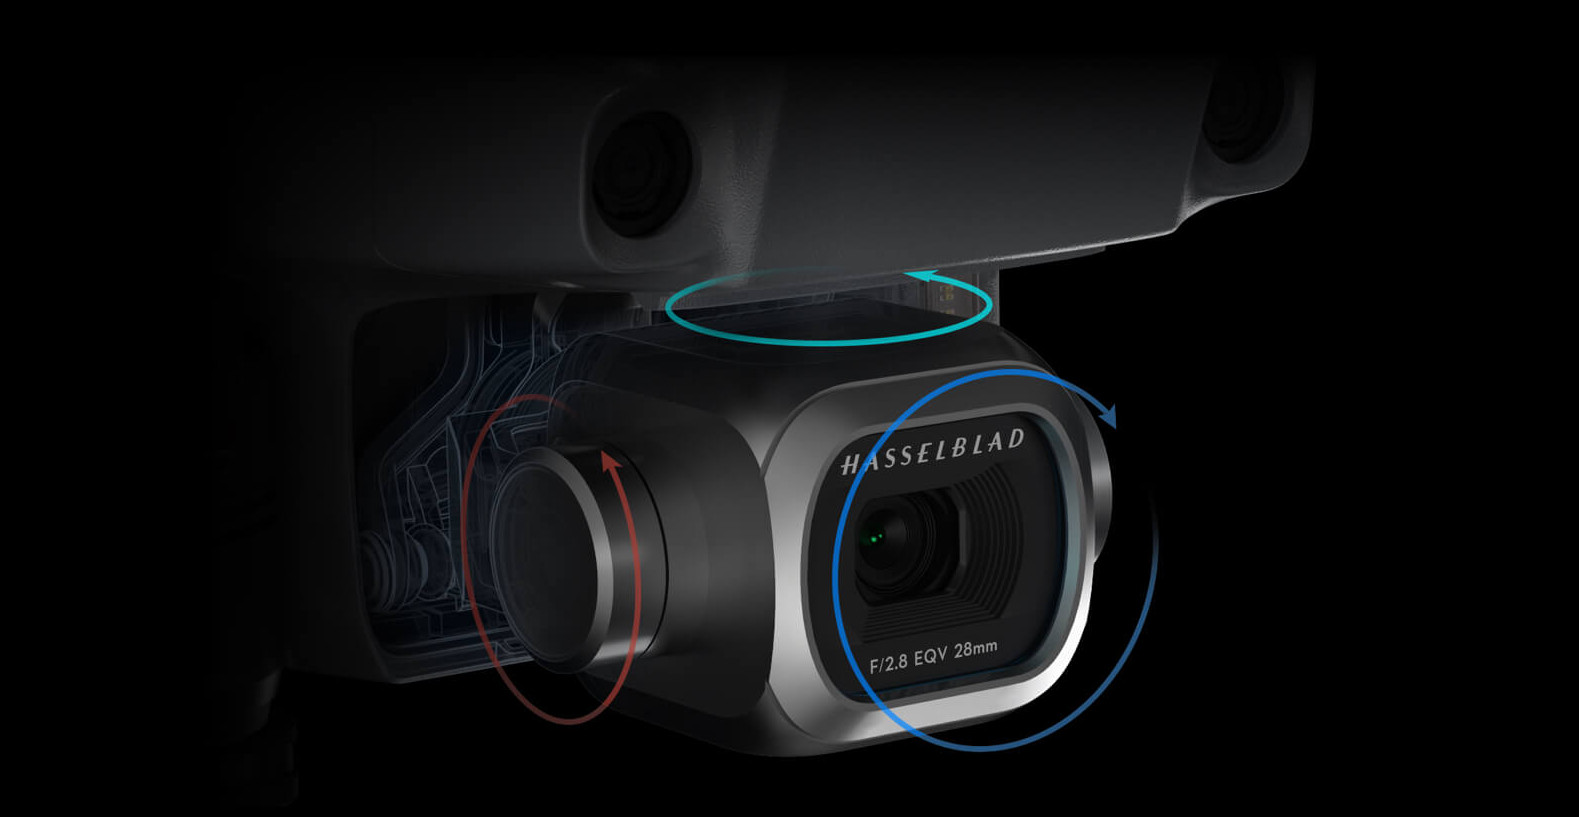
Arguably the key star of the show for the Mavic 2 Pro is it’s all new and greatly improved Hasselblad camera system. Being the main differentiating factor from the Zoom model – and adding an additional $500 AUD to the price tag – it’s no small upgrade.
Weighing in at a Phantom like 20 MP, the camera also has an adjustable aperture which allows it to capture fantastic photos and videos in both low light and bright day times. The best part though has to be its huge 1″ CMOS sensor that is four times larger than the original Mavic Pro.
This larger sensor area allows it to capture four times the amount of light which not only again helps in lower light, but also simply makes for less noisy, better shots. Along for the ride is the significant upgrade in colour profile which is now full 10-bit and 100 Mbps. This means there is far more information captured and recorded giving you smoother colour gradients and crisper images.
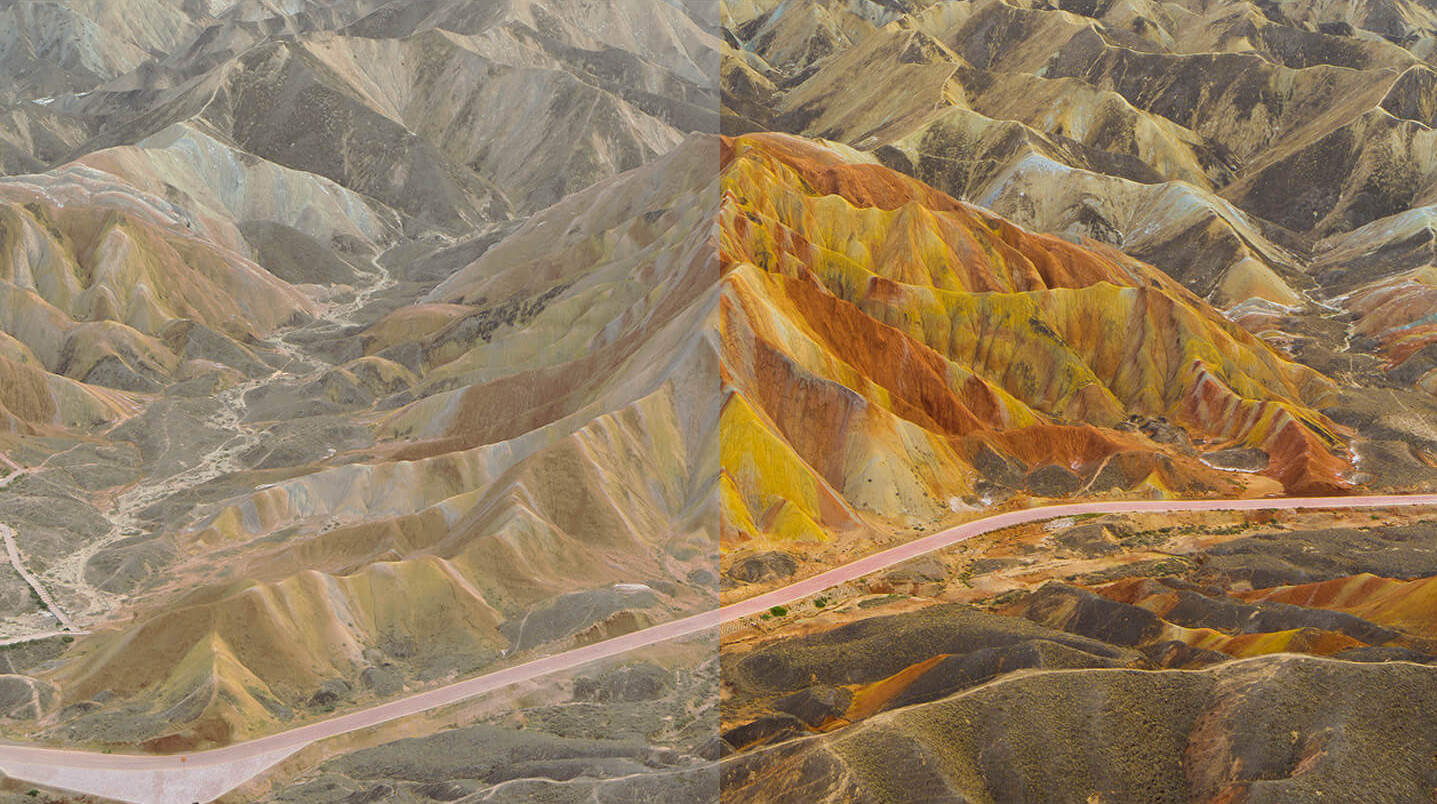
An example of the difference 10-bit colour profiles can make
This can be particularly important during sunsets or sunrises where you often have very similar colours all banded together. While this isn’t always required in regular DSLR’s, it’s particularly important with drones as they’re always looking down on nature which is often made up of shades or layers of the same colour. Think about a field of grass or a mountain side that has 100 shades of green alternating back and forth.
This new camera system looks to be by far the best currently available on a consumer level drone. While you can definitely get something better by buying an Inspire 2, they start at $4,700 AUD and require a lot more technical knowledge, are huge and weight a whopping 3.5 kg’s… without the gimbal or camera!
It’s fantastic to see DJI bringing DSLR type quality into the consumer drone market. Not everyone will want or even need this level of camera quality, but just like a high quality DSLR or mirrorless camera, there’s a huge market out there that appreciates this type of quality and precision.
What Shooting Modes Does The Mavic 2 Pro Have?
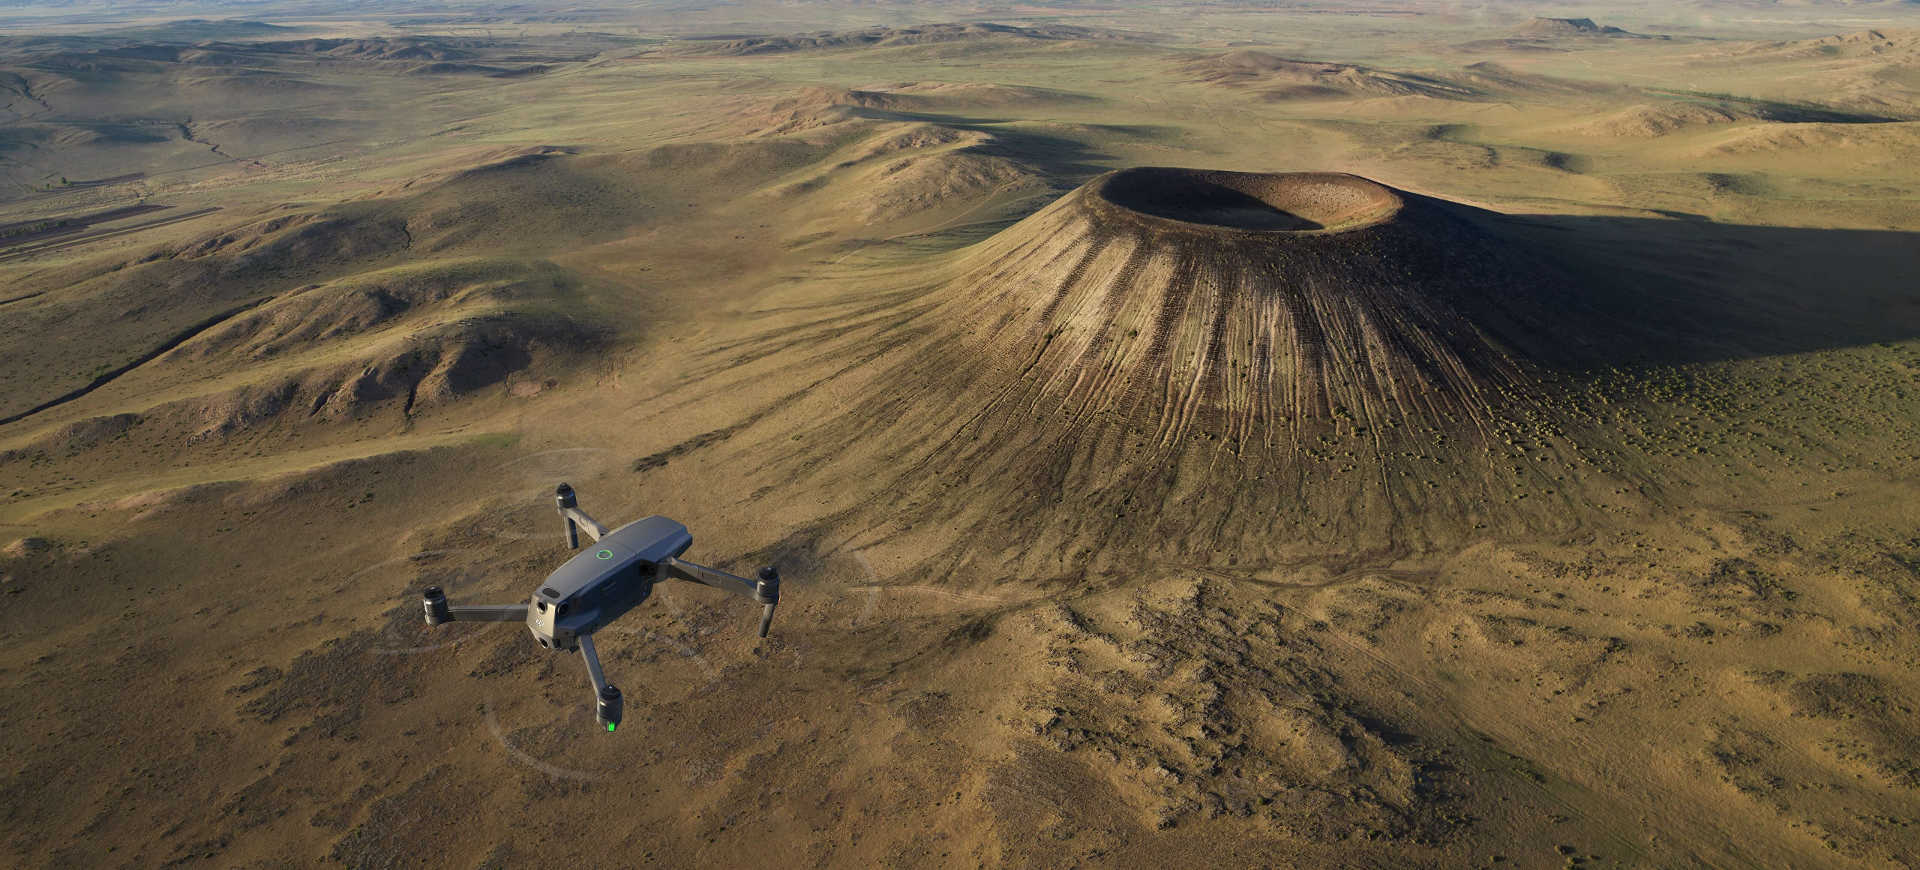
With every new drone announcement DJI seems to bring more and more shooting modes or refine previous ones. As they’ve been doing this for many years now it’s arguably one of the companies biggest advantages over competing drones.
This time around they’re introducing a brand new class of intelligent flight modes called Hyperlapse. These do away with complicated post-processing routines and instead do it all for you.
With Hyperlapse, the aircraft shoots stable aerial shots and processes them automatically, enabling you to create professional-looking timelapses with a simple tap of a button
Split into four modes you have Free, Circle, CourseLock and WayPoint giving you a number of different shooting styles all which result in some very nice shots like this example Free Hyperlapse below.
Also included is their new ActiveTrack 2.0 and Points of Interest 2.0 which combine improved hardware and software to track multiple objects, enable trajectory prediction and avoid obstacles all while keeping the subject in view smoothly.
Then bringing up the rear is all the previously great intelligent flight modes such as TapFly, Cinematic Mode, Waypoints and their QuickShots that has again, multiple sub-modes like Helix or Rocket for quick, automatically processed and instantly shareable clips.
What’s New About The Mavic 2 Pro Remote Controller?
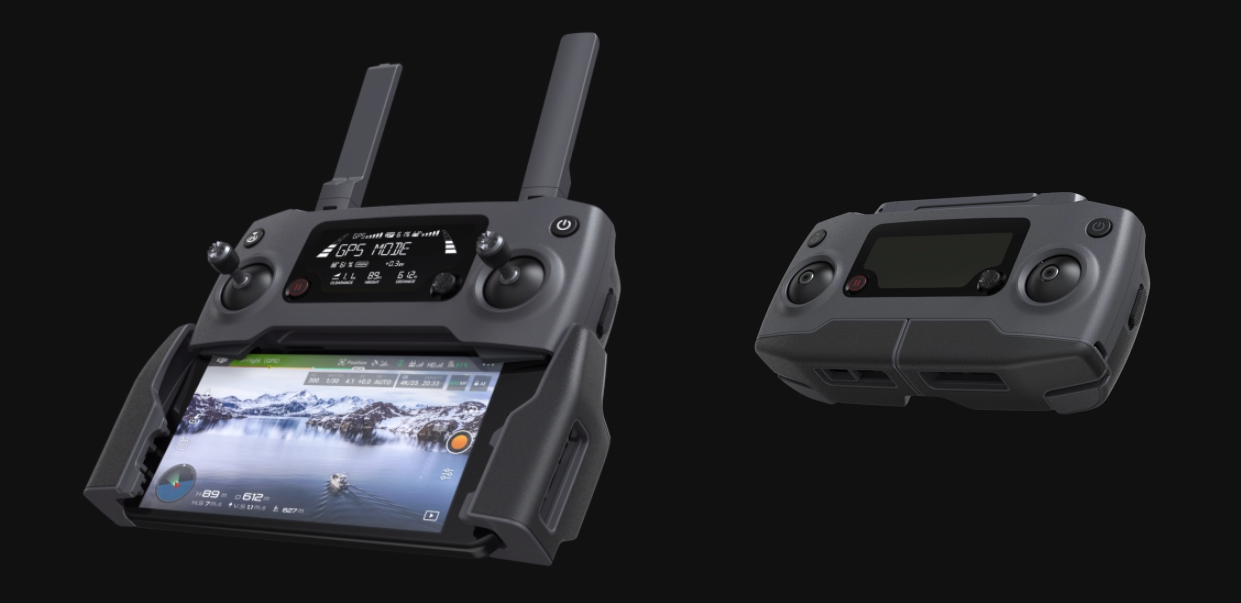
After fully redesigning the controller when they launched the original Mavic Pro it was a pretty safe bet that they’d be refining the design this time around.
The main new design feature is that the control sticks can be easily removed and stored inside the unit so that they don’t catch on anything during storage and break off. The colour is slightly different to the Mavic Pro’s controller and the switch button on the far right hand side now includes 3 different toggles, normal, sport and cinematic mode.
Aside from these small tweaks DJI hasn’t done anything too radical here which is a good thing. It’s still the same fantastic and highly compact controller that the original Mavic Pro has. Its range has been extended by 1 km and it still fits most phones out there including the bigger ones like a Pixel XL.
The weight and robustness of the controller is excellent and the overall design allows for first time users to very, very quickly learn to fly the drone with quite high precision. Almost every person I’ve handed my Mavic Pro controller to has been able to fly it instantly with just a few quick tips (eg. this stick fly’s up, this stick fly’s forward).
What Type Of Object Avoidance Does The Mavic 2 Pro Have?
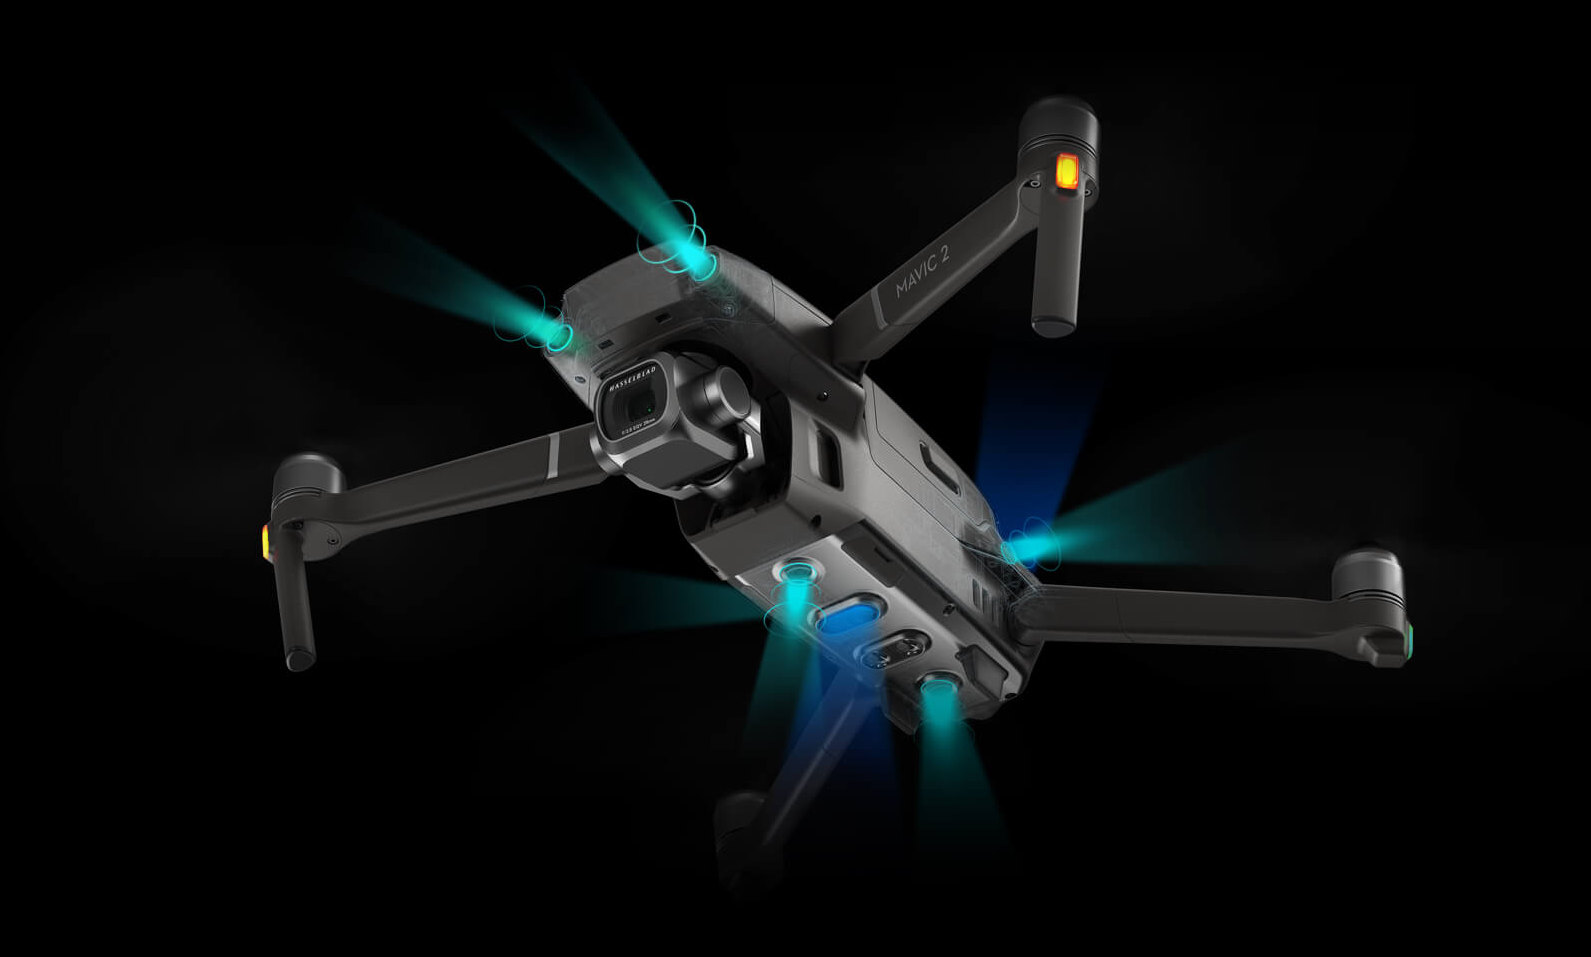
On the original Mavic Pro they had support for forward and downward object avoidance and through testing it both on purpose (and occasionally accidentally!) I can say it works flawlessly.
This new system though takes things to their logical conclusion by placing sensors on all the things. Up, down, left, right, forward, back… the Mavic 2 Pro has you covered on all sides which is fantastic.
I’m a big fan of object avoidance both because it means you don’t crash your expensive new drone and because it means drones can be safer for everyone. And when drones become safer to the point that every drone never fly’s into anyone or anything then people will be a lot more relaxed and allow them in more places openly.
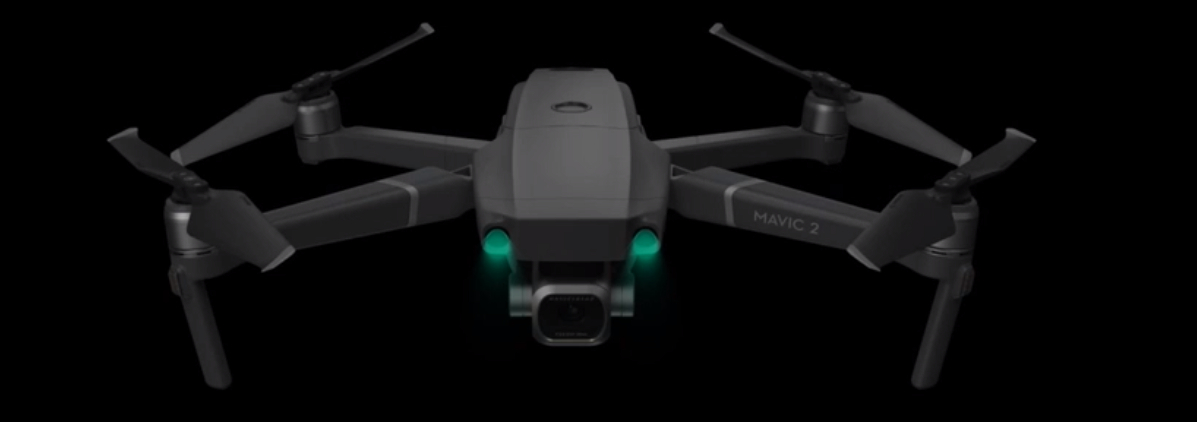
That being said though there is a big old star* if you look closely on the DJI product page:
Sensing for left/right directions is only available in ActiveTrack , QuickShot and Tripod mode.
I’m not sure why DJI didn’t chose to enable all sensors in all directions under all modes of operation… but it’s a bit of a bummer. From flying for a long time now I can say that running into things left/right of you is probably the least likely scenario, but that doesn’t mean it never happens, even to seasoned professionals. Here is an example of Tony (who probably owns every drone under the Sun!) crashing his Mavic Air mid review...
That being said though it’s obviously a significant step up from anything else out there at the moment and with a wider detection range of 20-40 meters and the ability to detect objects at up to 50 kph it’s a critical thing to have. Hopefully the Mavic 3 or Phantom 5 will finally introduce object avoidance in any mode and all directions.
What Accessories Are Available For The Mavic 2 Pro?
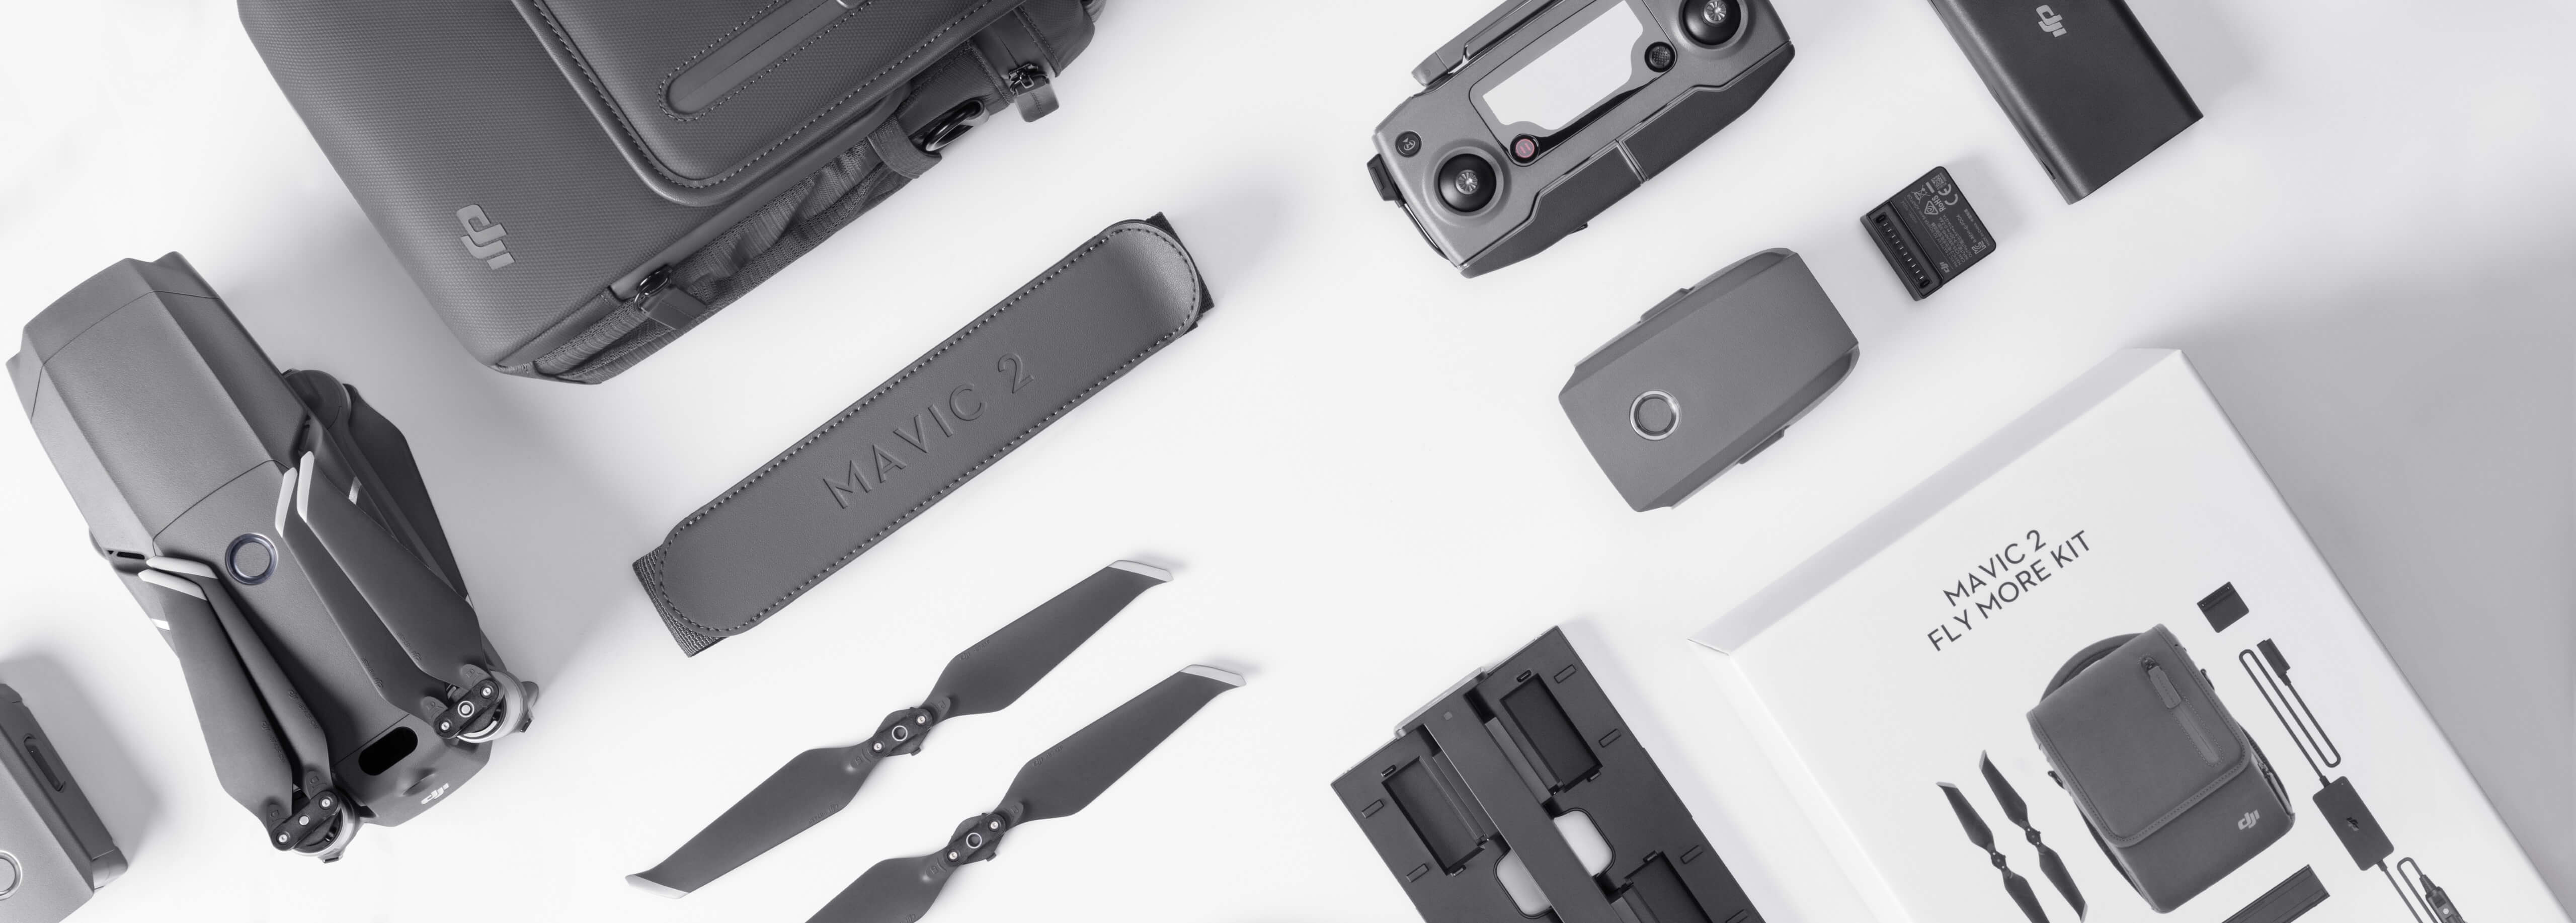
The major accessory that’s available for the Mavic 2 Pro is the Fly More Kit. This includes more propellers, two extra batteries, a carry bag, a car battery charger, a battery charging hub and a little adaptor that turns your Mavic 2 battery into a portable USB charger.
This allows you to then plug anything directly into the battery itself and charge it such as a phone, another battery bank, a camera etc. All up the Fly More Kit does exactly what it says on the box and enables you to fly for an additional 2 x 31 minutes.
With the original Mavic 2 Pro battery that’d mean you’d be good for over 1.5 hours of back to back flying which is pretty impressive. The car charger is also fantastic for those going on road trips as you can fly and record at one destination, then drive to the next while charging your batteries back up again.
This came in particularly handy when we did our 9 day Iceland road trip right around the whole country. I was able to not only charge the batteries on the go, but also use the spare batteries to charge our phones using the battery adaptor piece.
Coming in at an additional $649 AUD or $379 USD it’s not exactly super cheap. Given the considerable extra flight time and custom made shoulder bag I still think it’s a very worth while buy for those that regularly fly for longer than 30 minutes.
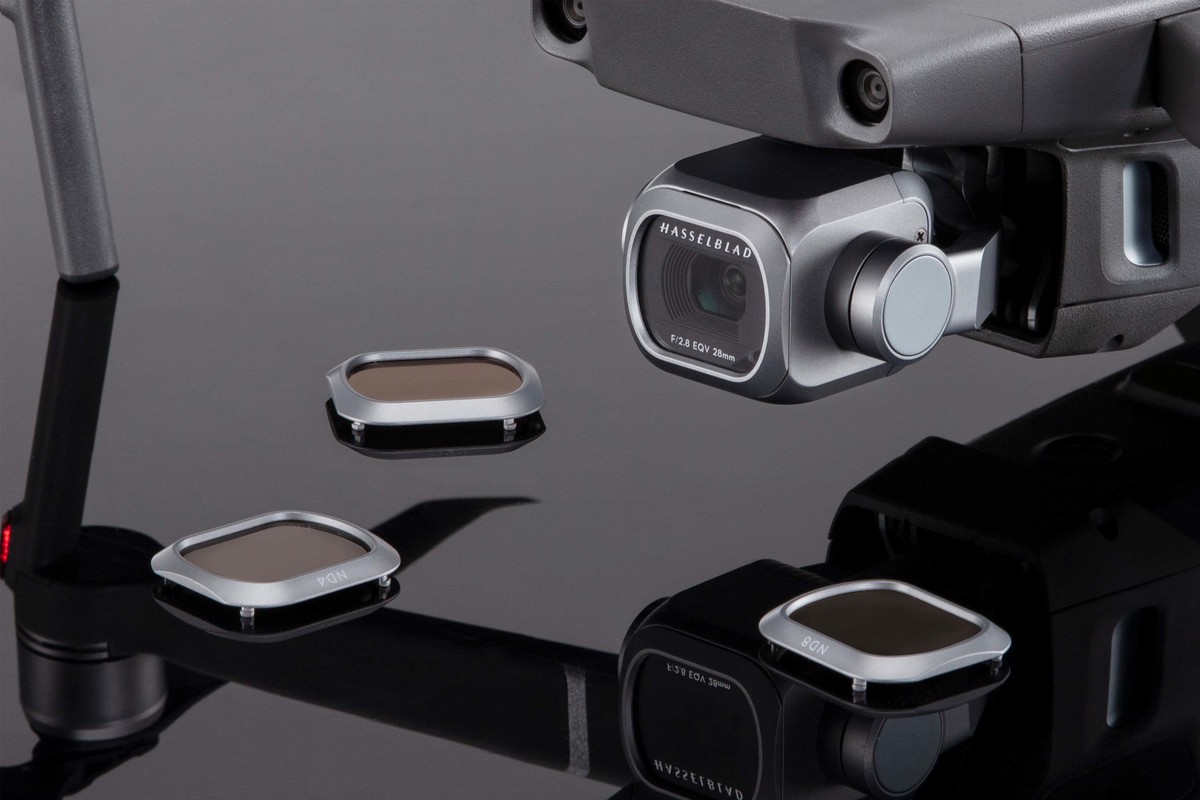
Beyond the Fly More Kit there are many other accessories like their range of ND filters, propeller guards, gimbal protectors, extra batteries, charging hubs, tablet holder add on for the remote or even fancy landing pads. You can check out the full range on the DJI website here.
Summary – The New King
DJI had a huge hit on their hands when they originally launched the Mavic Pro. It was always going to be tough for them to make a follow up product that wasn’t just a slight spec bump.
With the Mavic 2 Pro though they clearly achieved this with a huge number of additional features and reasons on why customers should come back and continue purchasing drones from them.
The Mavic 2 Pro has an amazing, uncompromising camera and colour system on board which truly makes it a full blown flying DSLR. From the custom Hasselblad camera to their signature folding design that means you can pretty much shove it – and the remote – into any bag it’s stability, image quality and feature set is matched by no other drone out there.
If you can afford the quite decent price tag you won’t find a better drone at the moment, at least until they release the Mavic 3. If you’re a proud owner of the original Mavic Pro and are looking to upgrade, I can’t say I see enough of a reason currently.
Maybe if you’re swimming in money then upgrade, but they almost made the original too good so for me at least, I’m sticking to the OG Mavic. I’ll be keeping a close eye on what they bring to the fold next year though that’s for sure!
*Supplementary images supplied by DJI
The benefits include: 1) How to get those silky smooth videos that everyone loves to watch, even if you're new 2) How to fly your drone, from taking off to the most advanced flight modes 3) Clear outlines of how to fly with step-by-step instructional demonstrations and more 4) Why flying indoors often results in new pilots crashing their drone 5) What other great 3rd party apps are out there to get the most out of your drone 6) A huge mistake many pilots make when storing their drone in the car and how to avoid it 7) How to do all of these things whilst flying safely and within your countries laws.
